First Craft of the Summer: Decorated Magazine Holders
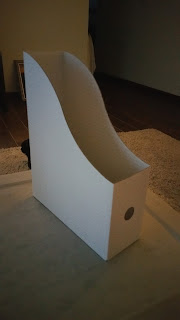
<----Take this
Make this--->
How? Why let me show you...
You'll need the following:
1. This works best with thinner scrapbook paper (that is the tan in the pics and the blue is super thick and was hard to work with), begin by meeting two pieces in the middle of one of the sides. I have moved them to different sides of the box depending on the pattern and how I want it to look.
Make this--->

How? Why let me show you...
You'll need the following:
- scissors
- tape
- 2 pieces of 12'' by 12'' scrapbook paper
- a magazine holder, I got mine from Ikea
- black cat (optional) :)
1. This works best with thinner scrapbook paper (that is the tan in the pics and the blue is super thick and was hard to work with), begin by meeting two pieces in the middle of one of the sides. I have moved them to different sides of the box depending on the pattern and how I want it to look.
2. Now cut down the shape of the magazine holder and you'll get some extra paper, cut this so you have as big of chunk as possible, if you cut it just right you can wrap that piece around so that all of the pieces meet. Then tape on the bottom and tops of the paper so the tape is wrapped around the holder. If you want the holders to have a circle (it is already in the cardboard) for grabbing the racks then I just recommend cutting with scissors by making a slit up and down then side to side and taping the four triangles that were created.
3. That's it, enjoy color coordinating them by task, activity, what you file, etc. I like to use these for the smaller items that would fit on the shelves but would mess up everything being nicely lined up. I also like to use another one for active items---bills, catalogs to review, etc.


Comments
Post a Comment